This article covers how to capture a screenshot in Windows 10
The easiest way to capture a screenshot in Windows 10 is to press the PrtSc + Windows keyboard combination on your keyboard. You’ll see your screen flash very briefly, and the screenshot will save to the Pictures > Screenshot folder on your computer. But while this is the easiest way, it may not be the best way.
One problem you may encounter if you use this keyboard combination and you’re running Windows 10 with two or more computer monitors, you’ll capture the screens on both monitors, as shown below. If what you’re trying to do is grab a single screen or part of a screen, you have some additional options in Windows 10 that might work better.

An alternative keyboard shortcut that might work a little better if you only want to capture a screenshot of an active window is to use Alt + PrtSc. However, be aware that this send the screenshot to your clipboard, not to the Pictures folder.
Capture a Screenshot With Snip & Sketch
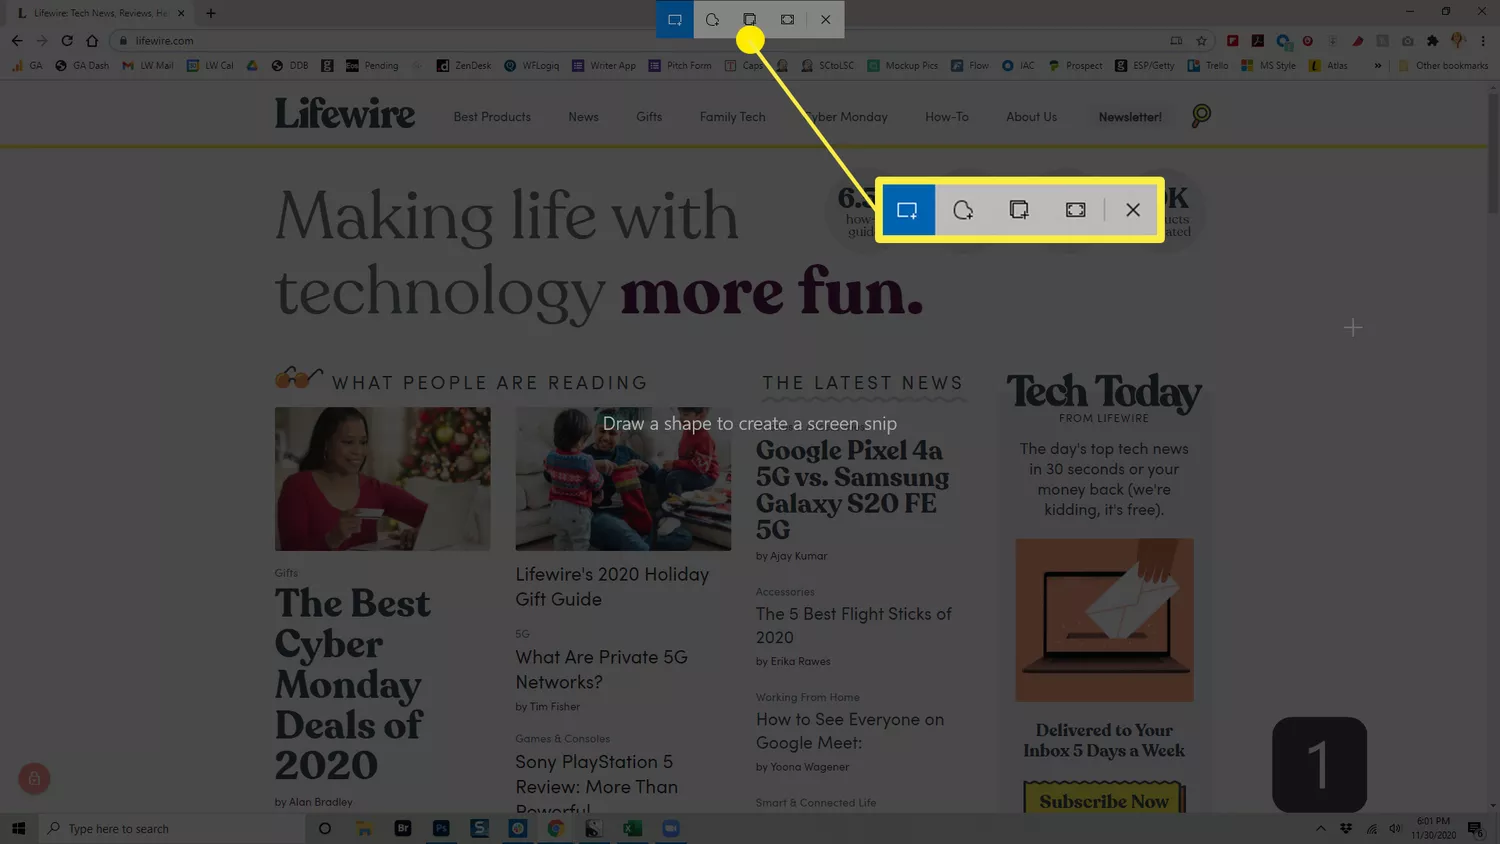
An alternative way to capture a screenshot in Windows 10 is to use the Snip & Sketch tool. Snip & Sketch can be accessed through the keyboard shortcut Windows key + Shift + S or by choosing Snip & Sketch from the Start menu. Here’s how it works:
- From the page or window, you want to capture, either use the keyboard shortcut or the Start menu to start the Snip & Sketch tool.
- Once the tool is activated, you have several options:
- Rectangle: Draw a rectangle around the portion of the screen you want to capture with your mouse.
- Freeform: Draw any freeform shape around the area you want to capture.
- Window Snip: Grabs a screenshot of the active window.
- Fullscreen Snip: Grabs a screenshot of your entire screen (if you’re using multiple monitors, it will capture a screenshot of all monitors).
- Once you’ve captured the screenshot, it will save to your clipboard, and you’ll see a notification pop up in the corner of your screen. Click this notification to markup and share the screenshot.
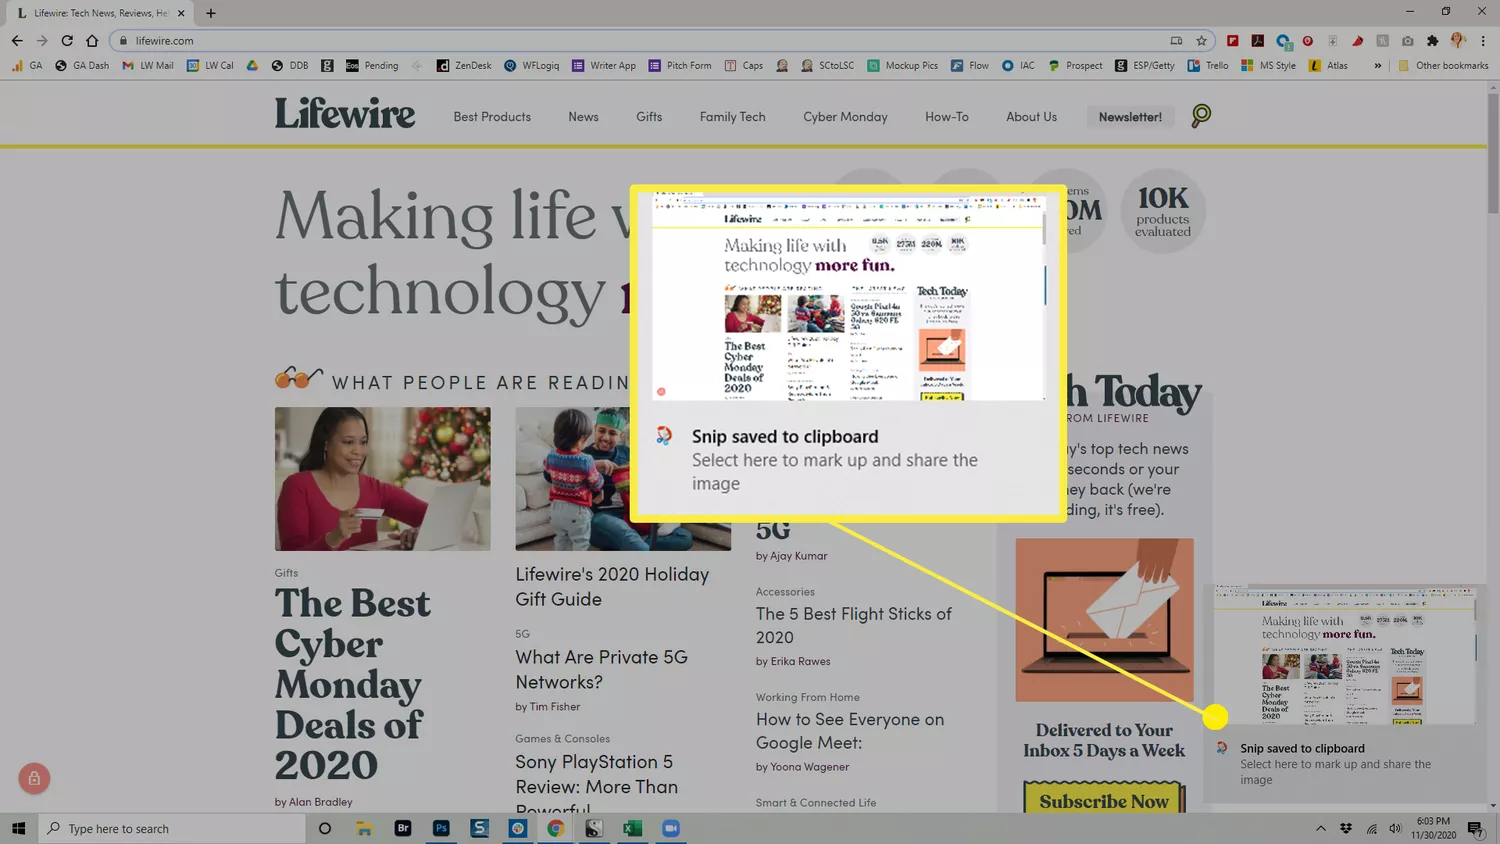 If you miss the popup notification, you can still access the screenshot through the Notifications bar on the screen’s right side.
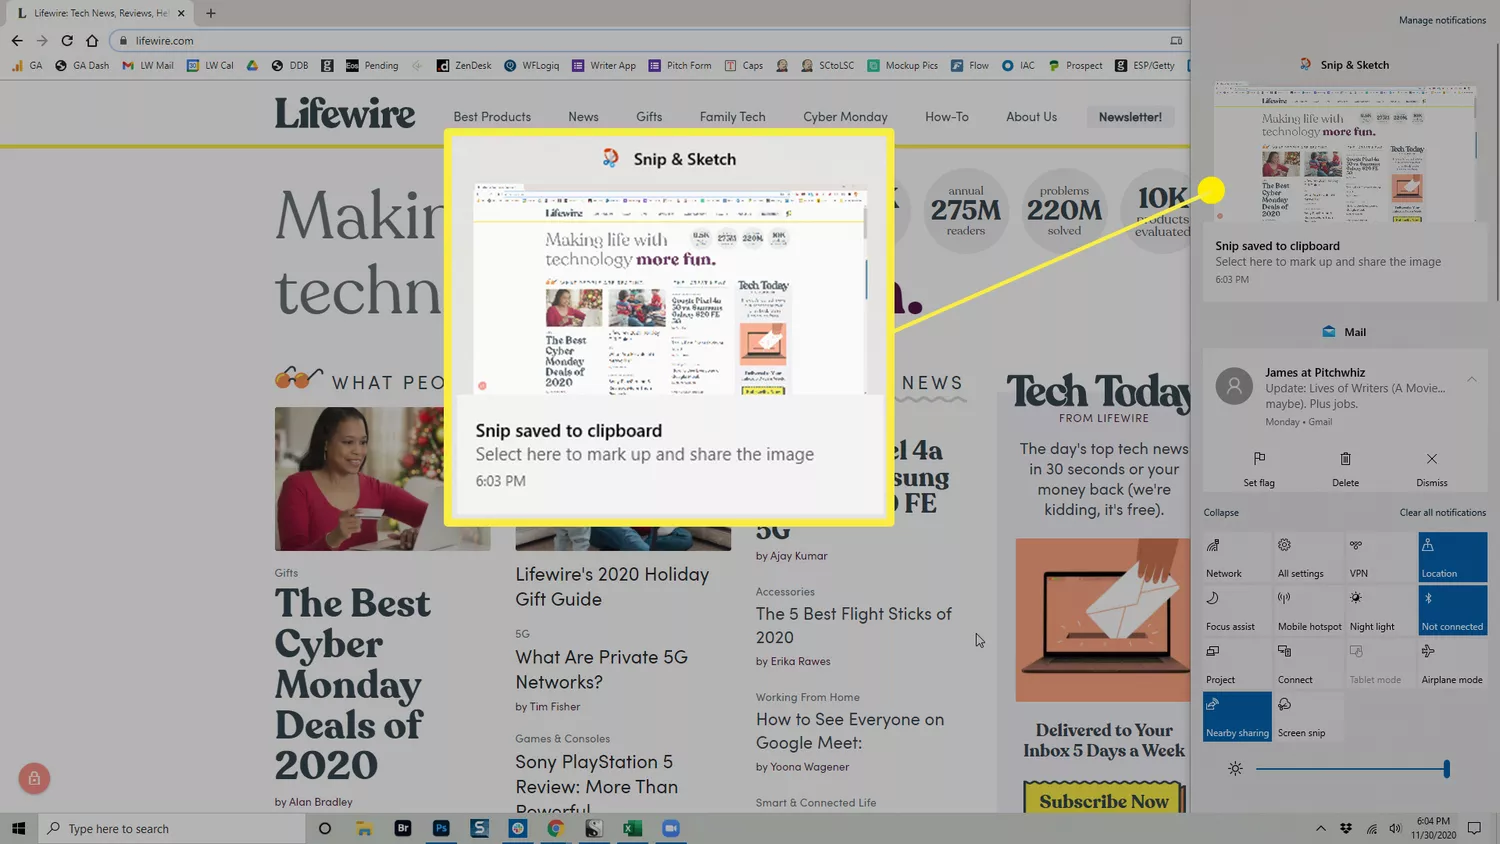
- Click the notification to open the Snip & Sketch tool, where you can mark-up, save, and share the screenshot. When you save the screenshot from here, you can choose where you want to put it.If you don’t save the screenshot to your hard drive, it stays on your Clipboard. Depending on your clipboard settings, it will disappear when replaced with another item on the Clipboard.
Get the Image With the Snipping Tool
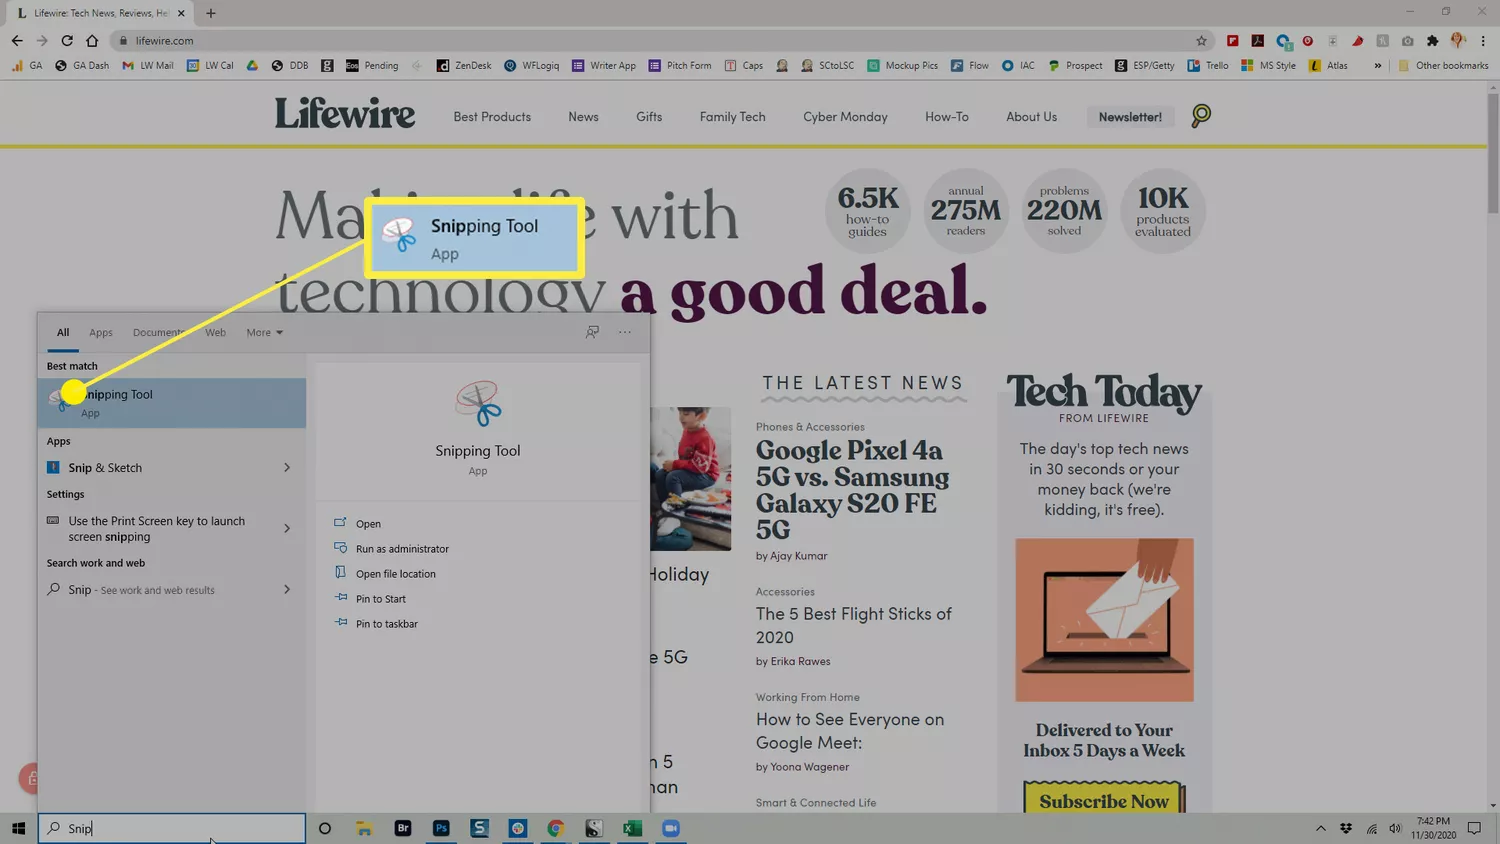
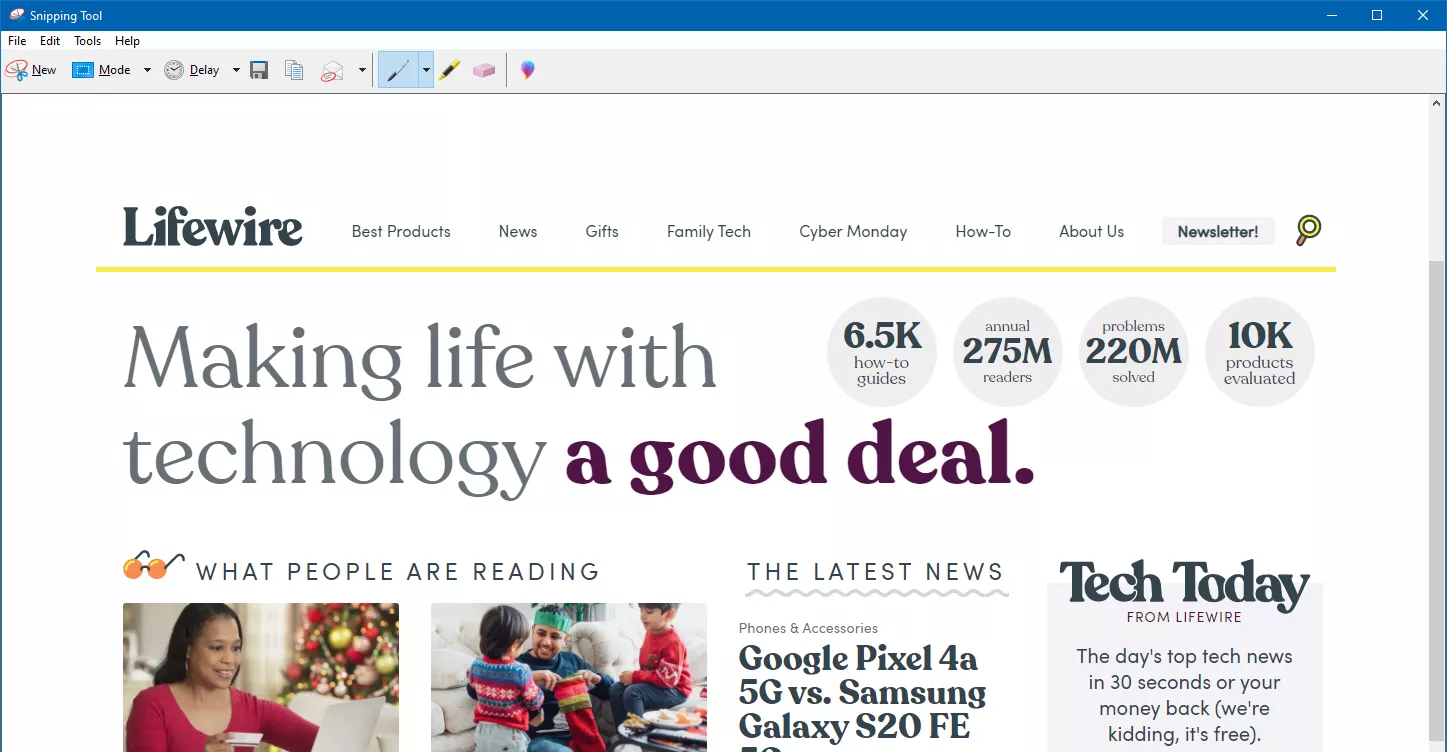
Another option you can use in Windows 10 is the Snipping Tool. This tool has been part of Windows since Windows Vista, and while you can no longer find it in the Start menu, you can still access it by using the Windows Search Bar.
- When you have something on your screen you want to capture a screenshot of, type Snipping Tool in the Windows Search bar, and select the Snipping Tool from the results.
- The Snipping Tool will open, and you’ll have some options to choose from:
- Mode: This allows you to choose whether you want to take a Free-form Snip, Rectangular Snip (This is the default.), Window Snip, or Full-screen Snip.
- Delay: Lets you choose to delay the screenshot from 1-5 seconds.
- Options: Lets you change the Snipping Tool options.

- Once you’ve set up your screenshot, click New to take the shot. The screen appears with a white overlay in the areas you’re not capturing.
- Once you’ve completed the capture, the screenshot is opened in the Snipping Tool, where you can mark-up, save, or share it.When you capture screenshots with the Snipping Tool, they are not automatically saved anywhere, including on the clipboard. If you want to keep the screenshot when you close the Snipping Tool, you need to choose File > Save As and save the screenshot to the desired location on your hard drive.
The Snipping Tool is a legacy tool in Windows 10, which is why you won’t find it listed in any menu. When you open it, you’ll even see a notice that it’s going away in a future update. For that reason, this should not be your first choice for taking screenshots.
Capture Screenshots on a Windows 10 Microsoft Surface
If you have a Microsoft Surface device running Windows 10, press Power+Volume Up. On a Surface 3 or earlier, press the Windows Logo+Volume Down. Screenshots are saved to Pictures > Screenshots.


