Windows 11 makes capturing your screen easier than ever. Get to know these screenshot taking methods and save important information to your PC in a moment’s notice.
How to screen snip on Windows 11
Using the Snipping Tool is one of the easiest ways to take a screenshot. If you’ve taken screenshots using Windows before, you’re probably familiar with the Snipping Tool. This version of the tool combines the original Snipping Tool with the Snip & Sketch Tool. Follow these instructions to open the Snipping Tool and get started:
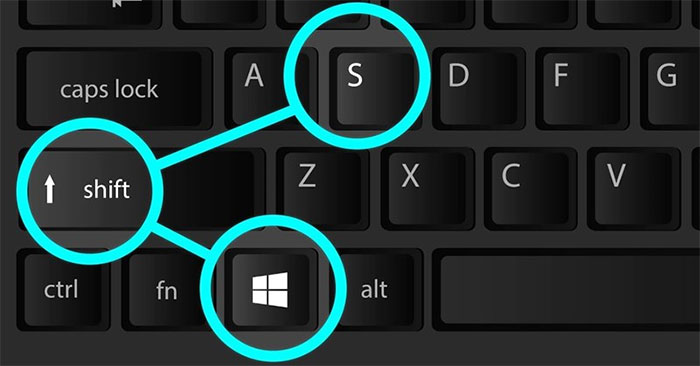
- Press Windows logo key+Shift+S to open the Snipping Tool directly.
- After entering the keyboard shortcut, you’ll see a box at the top of your computer.
- Choose between the following screenshot options: (from left to right) rectangular selection, freehand selection, window, or full-screen capture.
- Pick the rectangular selection or use freehand selection to highlight a designated screenshot area for an active window or your full screen.
- Look for a thumbnail image of your selection at the lower-right-hand corner of your screen after capturing your screenshot.
- The Snipping Tool copies your screenshot directly to your clipboard, so you can paste (CTRL+V) your image into another app if needed.