This article explains how to take a screenshot on an Acer laptop. There’s more than one method, depending on what it is you want to screenshot and how you want the image to be saved.
Keyboard Shortcuts to Screenshot on an Acer Laptop
One way to take a screenshot is to press the Print Screen button on the keyboard. It’s usually found in the function row and abbreviated as PrtSc. This method stores the screenshot in the Windows clipboard. You can then paste it into apps or web pages with Ctrl+V.

Print Screen will also save a screenshot to Microsoft OneDrive if you have the app installed and give it permission to to store screenshots there. By default, the app will ask for permission the first time you use Print Screen.
Another way to screenshot on an Acer laptop is to immediately store the image to a file, thus bypassing the clipboard. Pressing Win+PrtSc will store the screenshot in this folder:
C:\Users\[username]\Pictures\ScreenshotsFinally, you can press Win+Shift+S to summon Snipping Tool. This will bypass the app’s main screen and launch directly to snapping a screenshot. Below is a lot more information about how to use it.
Use Snipping Tool to Screenshot on an Acer Laptop
If you only need to capture a portion of the screen, use Snipping Tool. It’s ideal if you need to define a very specific part of the screen, like a section of a web page. It can also take delayed screenshots and includes a crop tool and highlighter.
The instructions below were made in Windows 11. Windows 10 includes a similar program, but depending on your version of Windows, it might be called Snip & Sketch.
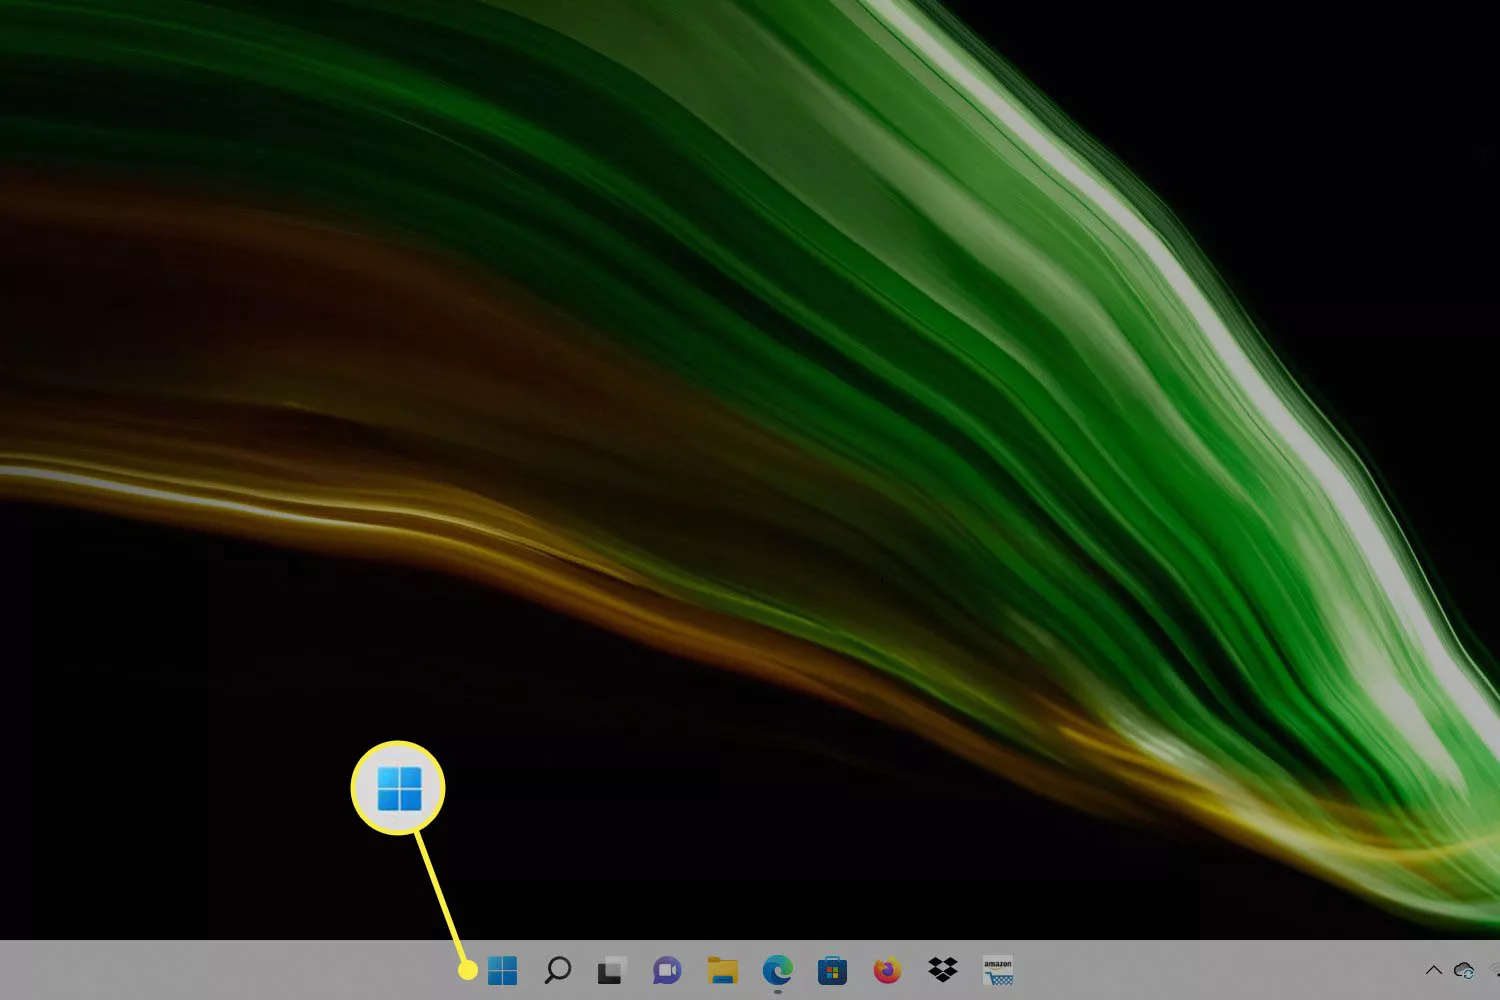
- Open the Start menu.
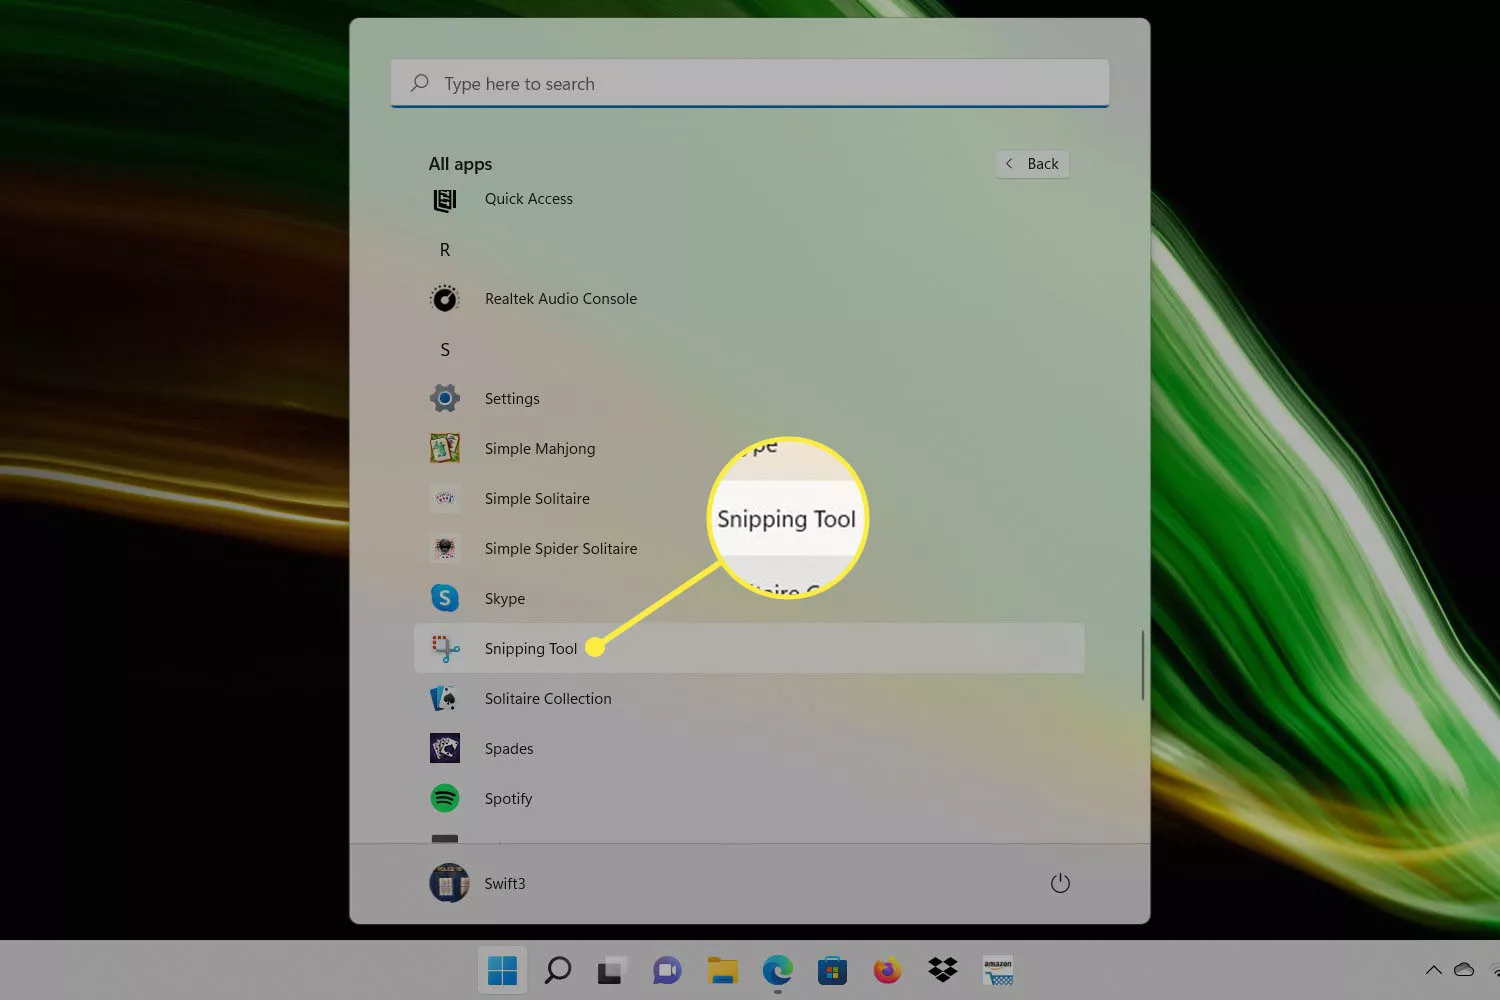
- Select All apps.

- Scroll to Snipping Tool and open it. The list of apps is alphabetical, so it’s usually near the end, although you can also search for it.
- Select New to make a screenshot with the the default option selected. Use the drop-down menu in this tool to pick a different screenshot method; there are four: Rectangle, Window, Full screen, and Freeform.

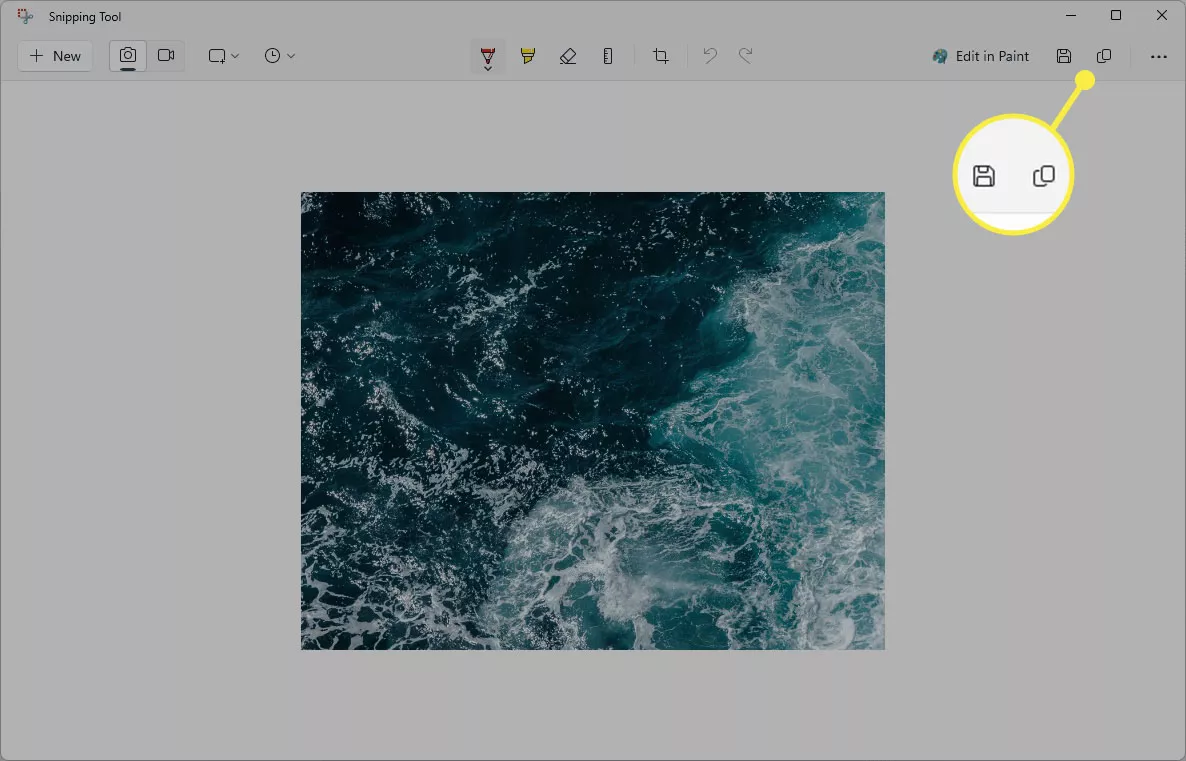
- After you take a screenshot, press the save button to store it on your computer, or the copy button to store it in the clipboard. The three-dot menu contains even more options if you want to share or print the screenshot.
Where Screenshots Are Saved on an Acer Laptop
Using the Print Screen button or the Snipping Tool will save a screenshot to the clipboard. This doesn’t save the screenshot to a file, so you will need to paste the screenshot into an app that supports importing images via pasting, like Paint or an image editing program.
OneDrive users can turn on an option in the app’s settings that will automatically save screenshots to OneDrive.
Win+PrtSc saves screenshots to the Pictures\Screenshots folder as a PNG file.


